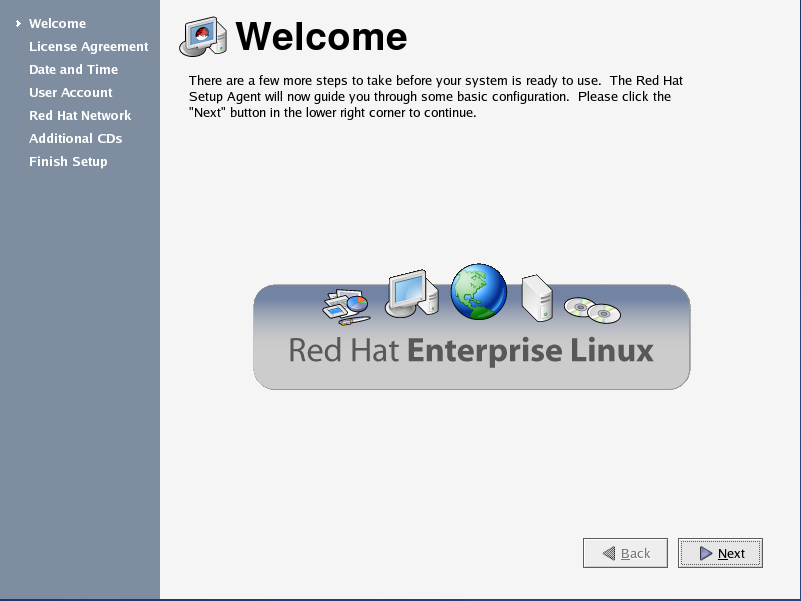
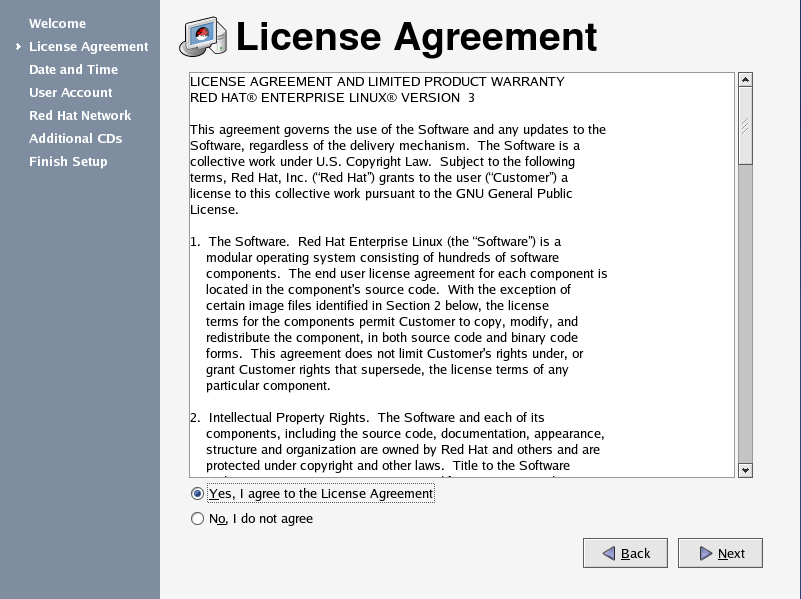
Indicate that you Agree to the license agreement, and click "Next"
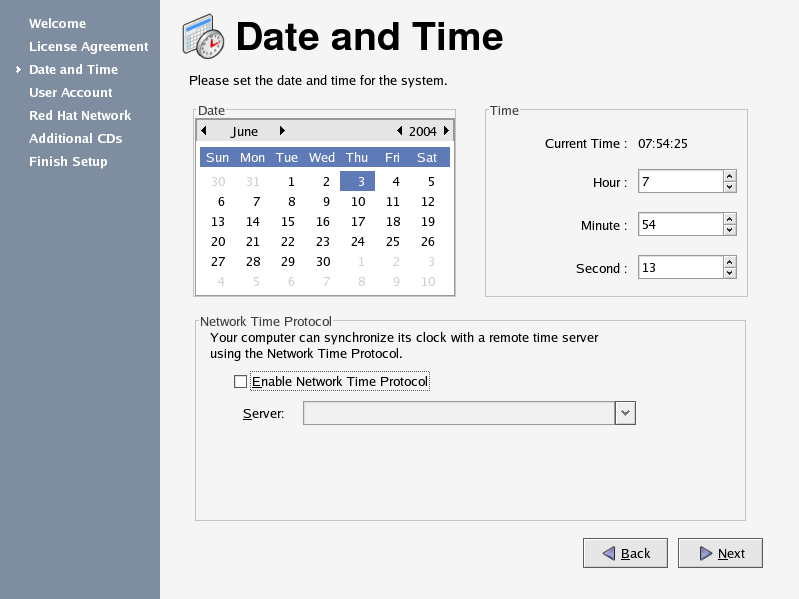
Set the correct date and time here. If you are connected to the network, you may elect to use an NTP server. If you are sure you are connected to the network, check the "Use NTP server" box, and enter "time.mit.edu" for the server as shown below.
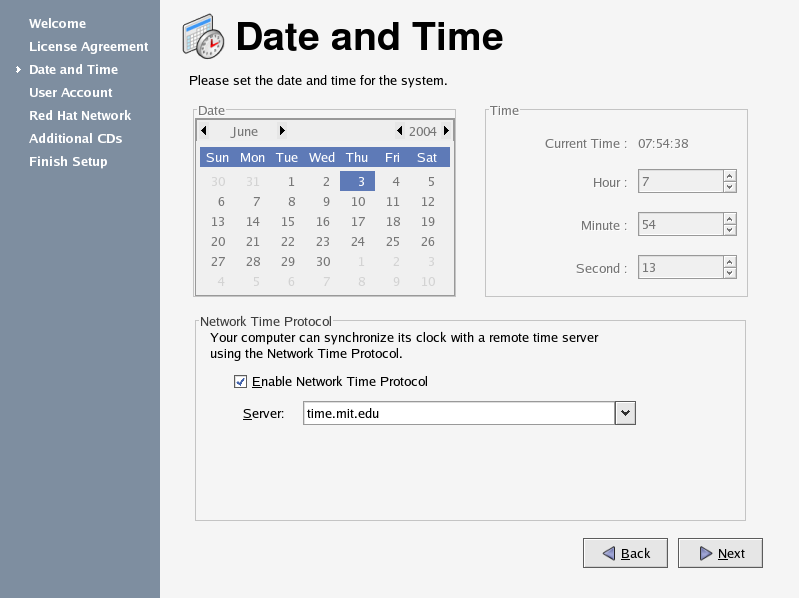
Please note that this may pause for a long period of time if you do not have your network settings configured correctly. If you are unsure, do not use an NTP server. You can always change this setting later.
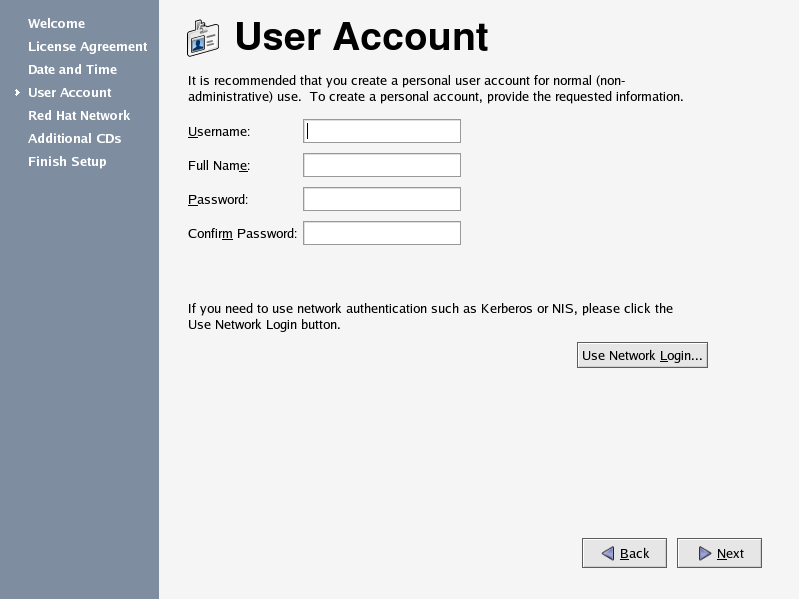
Create a user account that you will use on your machine. For simplicity, you may wish to use the same username as your Athena username.
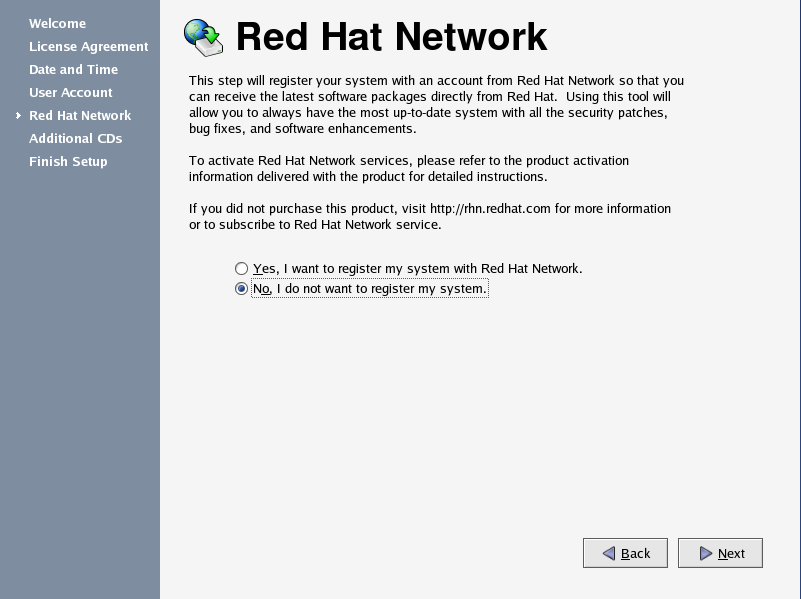
IMPORTANT: Please indicate that you do NOT wish to use the Red Hat Network. MIT has a separate procedure for registering your system which you can use after this configuration is complete.
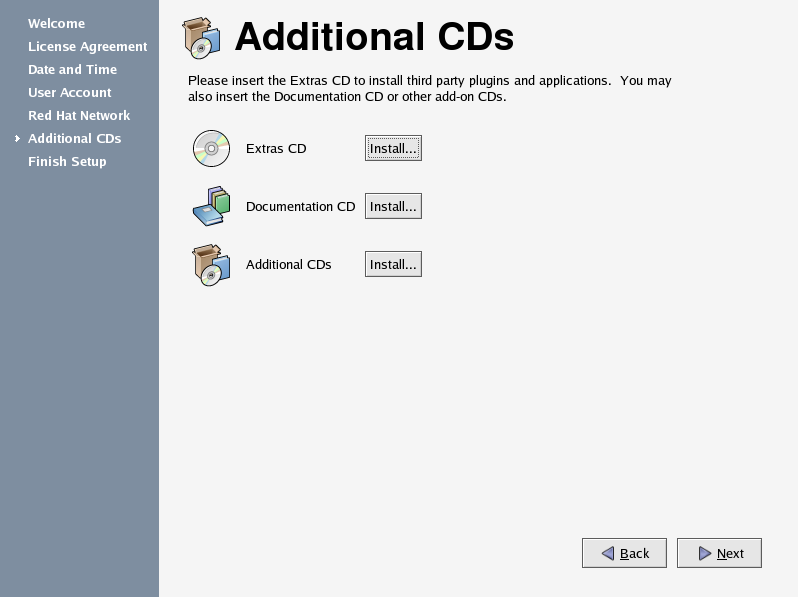
Advanced users may use this section to install additional packages. Otherwise, click "next".
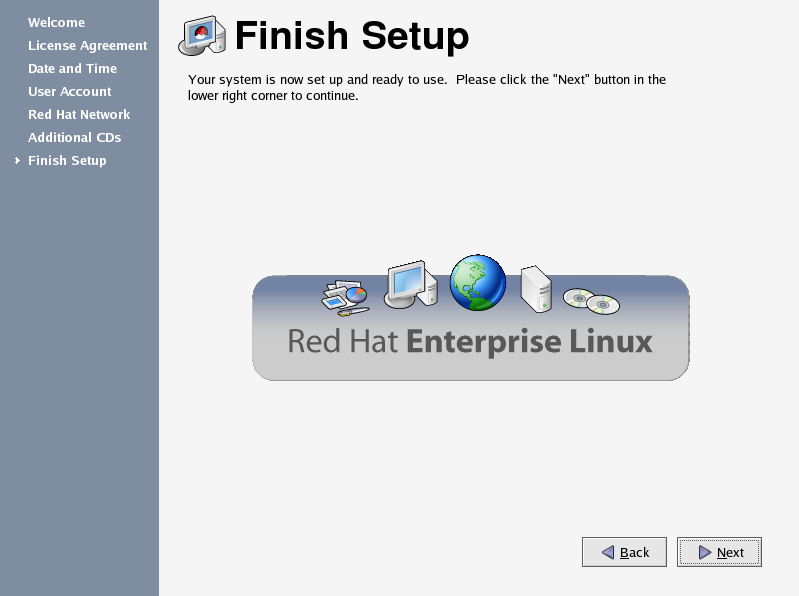
Configuration is now complete.