QML Advanced Tutorial 1 - Creating the Game Canvas and Blocks
Creating the application screen
The first step is to create the basic QML items in your application.
To begin with, we create our Same Game application with a main screen like this:
This is defined by the main application file, samegame.qml, which looks like this:
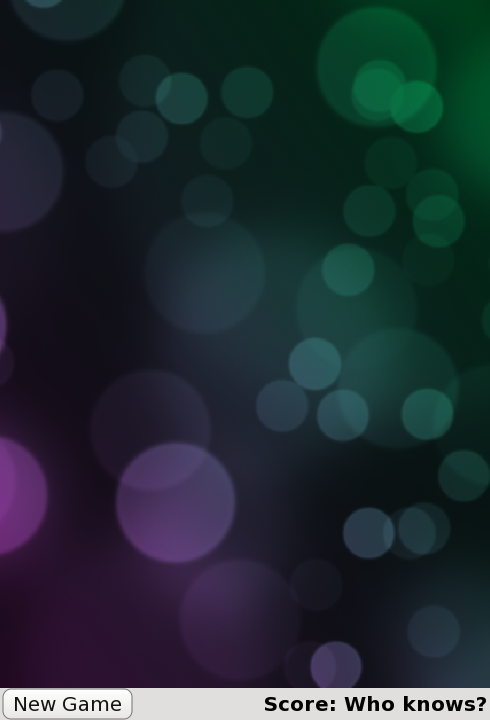
  import QtQuick 2.0

  Rectangle {
      id: screen

      width: 490; height: 720

      SystemPalette { id: activePalette }

      Item {
          width: parent.width
          anchors { top: parent.top; bottom: toolBar.top }

          Image {
              id: background
              anchors.fill: parent
              source: "../shared/pics/background.jpg"
              fillMode: Image.PreserveAspectCrop
          }
      }

      Rectangle {
          id: toolBar
          width: parent.width; height: 30
          color: activePalette.window
          anchors.bottom: screen.bottom

          Button {
              anchors { left: parent.left; verticalCenter: parent.verticalCenter }
              text: "New Game"
              onClicked: console.log("This doesn't do anything yet...")
          }

          Text {
              id: score
              anchors { right: parent.right; verticalCenter: parent.verticalCenter }
              text: "Score: Who knows?"
          }
      }
  }
This gives you a basic game window that includes the main canvas for the blocks, a "New Game" button and a score display.
One item you may not recognize here is the SystemPalette item. This provides access to the Qt system palette and is used to give the button a more native look-and-feel.
Notice the anchors for the Item, Button and Text types are set using group (dot) notation for readability.
Adding Button and Block components
The Button item in the code above is defined in a separate component file named Button.qml. To create a functional button, we use the QML types Text and MouseArea inside a Rectangle. Here is the Button.qml code:
  import QtQuick 2.0

  Rectangle {
      id: container

      property string text: "Button"

      signal clicked

      width: buttonLabel.width + 20; height: buttonLabel.height + 5
      border { width: 1; color: Qt.darker(activePalette.button) }
      antialiasing: true
      radius: 8

      // color the button with a gradient
      gradient: Gradient {
          GradientStop {
              position: 0.0
              color: {
                  if (mouseArea.pressed)
                      return activePalette.dark
                  else
                      return activePalette.light
              }
          }
          GradientStop { position: 1.0; color: activePalette.button }
      }

      MouseArea {
          id: mouseArea
          anchors.fill: parent
          onClicked: container.clicked();
      }

      Text {
          id: buttonLabel
          anchors.centerIn: container
          color: activePalette.buttonText
          text: container.text
      }
  }
This essentially defines a rectangle that contains text and can be clicked. The MouseArea has an onClicked() handler that is implemented to emit the clicked() signal of the container when the area is clicked.
In Same Game, the screen is filled with small blocks when the game begins. Each block is just an item that contains an image. The block code is defined in a separate Block.qml file:
  import QtQuick 2.0

  Item {
      id: block

      Image {
          id: img
          anchors.fill: parent
          source: "../shared/pics/redStone.png"
      }
  }
At the moment, the block doesn't do anything; it is just an image. As the tutorial progresses we will animate and give behaviors to the blocks. We have not added any code yet to create the blocks; we will do this in the next chapter.
We have set the image to be the size of its parent Item using anchors.fill: parent. This means that when we dynamically create and resize the block items later on in the tutorial, the image will be scaled automatically to the correct size.
Notice the relative path for the Image type's source property. This path is relative to the location of the file that contains the Image type. Alternatively, you could set the Image source to an absolute file path or a URL that contains an image.
You should be familiar with the code so far. We have just created some basic types to get started. Next, we will populate the game canvas with some blocks.
Files: