Contents
Previous Next
Installing the GSX Server Software on a Windows Host
You cannot have VMware GSX Server installed on the same host machine as any other VMware product, such as VMware Workstation, VMware ACE or the VMware Virtual Machine Console. The only VMware product that can be installed on the same host as GSX Server is the VMware VirtualCenter client software. If you plan to install GSX Server on a host machine that already contains any other VMware product, you must uninstall that product first.
Similarly, you cannot have multiple versions of GSX Server installed on the same host.
1. Log on to your Microsoft Windows host as the Administrator user or as a user who is a member of the Windows Administrators group.
Note: On a Windows Server 2003 host, you must be logged on as a local administrator (that is, not logged on to the domain) in order to install GSX Server.
Although you must be logged in as an administrator to install GSX Server, you can run the program after it is installed as a user with normal user privileges.
Note: A message appears if you are installing GSX Server on a Windows host configured as an Active Directory server. You can safely ignore the message by clicking OK to continue the installation, or choose to cancel the installation.
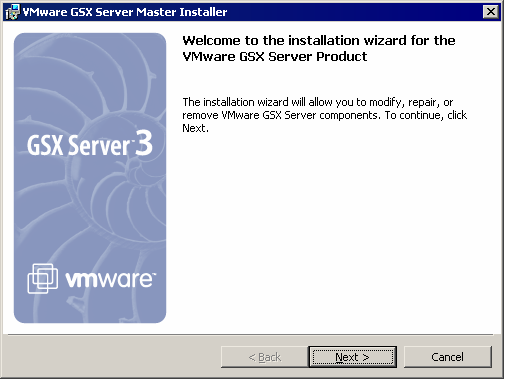
2. Start the GSX Server master installer.
If you are installing from a CD, from the Start menu, choose Run and enter D:\Windows\VMware-gsx-server-installer-<xxxx>.exe, where D: is the drive letter for your CD-ROM drive and <xxxx> is a series of numbers representing the version and build numbers.
If you are installing from a downloaded file, from the Start menu, choose Run, browse to the directory where you saved the downloaded installer file (the name is similar to VMware-gsx-server-installer-<xxxx>.exe, where <xxxx> is a series of numbers representing the version and build numbers).
The master installer starts.
Click Next.
3. Accept the end user license agreement (EULA).
Select the I accept the terms in the license agreement option, then click Next.
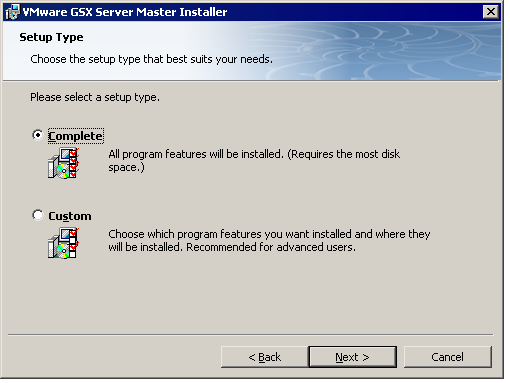
4. Choose whether you want to perform a complete or a custom installation.
Complete Installation
A complete installation installs the server software, the VMware Management Interface, the VMware Virtual Machine Console, the VmCOM API and the VmPerl API on the GSX Server host. To choose the complete installation, select Complete, then click Next.
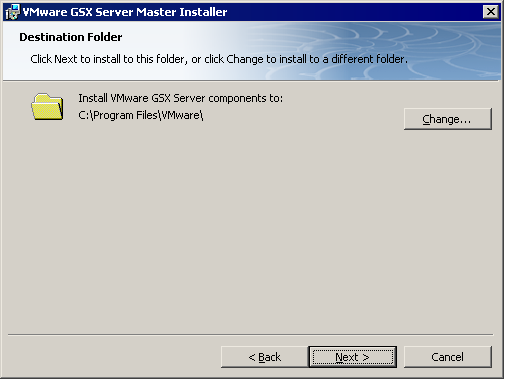
If you want to install all the GSX Server components in a directory other than the default, click Change and browse to the directory of your choice. If the directory does not exist, the installer creates it for you.
Caution: GSX Server must be installed on a local drive, not a network drive.
Note: Windows and the Microsoft Installer limit the length of a path to a folder to 255 characters for a path to a folder on a local drive and 240 characters for a path to a folder on a mapped or shared drive. If the path to the GSX Server program folder exceeds this limit, an error message appears. You must select or enter a shorter path.
When you are ready to continue, click
Next and go to
step 5.
Custom Installation
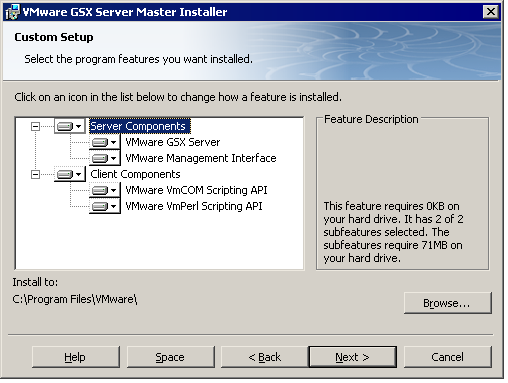
A custom installation lets you pick and choose which components to install. You can always run the installer again at a later date to install components you did not install the first time. Select Custom and click Next. The Custom Setup screen appears.
In the Custom Setup screen, choose the components to install. Click the arrow to the left of the component you do not want to install and select the appropriate option from the menu.
If you need to determine how much free space is on your host, click Space. This is useful if you are choosing a custom installation due to limited disk space on your host.
If you want to install all the GSX Server components in a directory other than the default, click Browse and select the directory. If the directory does not exist, the installer creates it for you.
Caution: GSX Server must be installed on a local drive, not a network drive.
Note: Windows and the Microsoft Installer limit the length of a path to a folder to 255 characters for a path to a folder on a local drive, and 240 characters for a path to a folder on a mapped or shared drive. If the path to the GSX Server program folder exceeds this limit, an error message appears. You must select or enter a shorter path.
When you are ready to continue, click Next.
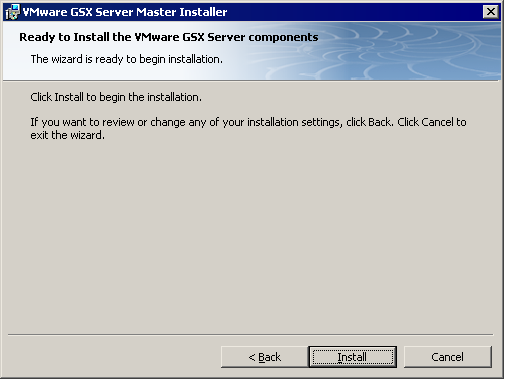
5. If you want to change any settings or information you provided, now is the time to make those changes. Click Back until you reach the screen containing the information you want to change.
Otherwise, click Install. The installer begins copying files to your host.
6. If the installer detects that the CD-ROM autorun feature is enabled, you see a message that gives you the option to disable this feature. Disabling it prevents undesirable interactions with the virtual machines you install on this system.
7. Two shortcuts are created for you on your desktop automatically. They give you easy access to virtual machines from the desktop of your host.
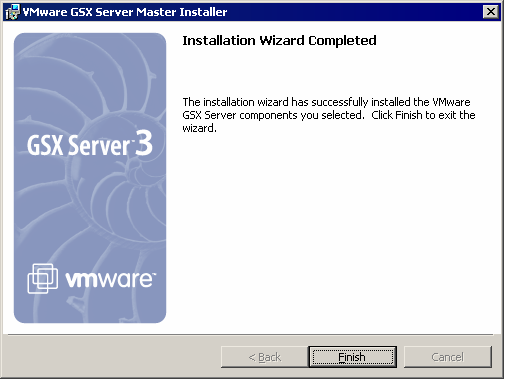
8. Click Finish. The GSX Server software is installed.
9. If you see a prompt that suggests you reboot your server, do so now to allow GSX Server to complete the installation correctly.
Automating the Installation of GSX Server
To automate the installation of GSX Server, you can use the Microsoft Windows Installer runtime engine to install the software silently (in quiet mode). If you are installing GSX Server on a number of Windows hosts, you may want to use the silent installation features.
The server on which you are installing GSX Server must have Microsoft Windows Installer runtime engine version 2.0 installed. This version is included with Windows Server 2003. If you are installing on a Windows 2000 host (or are installing the VMware Scripting APIs on a Windows NT 4.0 client), check the version of this file:
%WINDIR%\system32\msiexec.exe
If you need to upgrade the engine, run instmsiw.exe, which is located in the directory where you extract the installation packages; see below.
To install GSX Server silently on a Windows host, complete the following steps.
1. Extract the individual installation packages. Open a command prompt and on one line type:
VMware-gsx-server-installer-<xxxx>.exe /a /s /x /d C:\temp\gsx
(where <xxxx> is a series of numbers representing version and build numbers.)
2. Run the silent installation on the extracted installation packages. At the command prompt, on one line, type:
msiexec -i "C:\temp\gsx\VMware GSX Server.msi" ADDLOCAL=ALL /qn
The installation command can be customized using standard Microsoft Windows Installer installation properties as well as any of the following:
|
Property Name
|
Description
|
Default
|
|
DESKTOP_SHORTCUT
|
Installs GSX Server shortcuts on the desktop. By default, shortcuts are installed on the desktop.
To prevent shortcuts from being installed, add the following in step 2:
DESKTOP_SHORTCUT = 0
|
1
|
|
DISABLE_AUTORUN
|
Disables CD autorun on the host. By default, autorun is disabled during the installation.
To enable autorun, add the following in step 2:
DISABLE_AUTORUN = 0
|
1
|
|
REMOVE_LICENSE
|
Uninstall only: Removes all stored licenses when you uninstall GSX Server. By default, GSX Server keeps the licenses on the server.
To remove licenses, add the following in step 2:
REMOVE_LICENSE = 1
Caution: VMware strongly recommends you keep your licenses, in case you reinstall or upgrade your software.
|
0
|
|
SERIALNUMBER
|
Automatically enters the serial number.
To enter the serial number, add the following in step 2:
SERIALNUMBER=<serialNumber>
|
none
|
The ADDLOCAL option defaults to install all GSX Server components. You can customize the installation using a combination of the ADDLOCAL and REMOVE options. You can add or remove the following components:
All, which includes all the options in this list.
Network, which includes the bridged networking adapter (vmnet0), the host-only networking adapter (vmnet1) and the NAT networking adapter (vmnet8). It also includes NAT and DHCP, but these can be removed from the installation.
NAT, the VMware NAT Service.
DHCP, the VMware DHCP Service.
To include a component, use it with the ADDLOCAL option.
To exclude a component, use it with the REMOVE option. You always install the bridged and host-only network adapters as part of the Network component.
For example, to install everything but the VMware NAT and DHCP services, specify on the command line:
ADDLOCAL=ALL REMOVE=DHCP,NAT
Note: The DHCP and NAT components are children of the Network component. Thus, you also skip installation of the VMware NAT and DHCP services if you specify:
ADDLOCAL=ALL REMOVE=Network