Phone
+1 857 209 6440
Email
rebei@mit.edu
Building an Intelligent Quadcopter with Object Recognition
Ongoing Personal Project for Spring 2020 Semester
Quadcopter Breakdown
- Frame: there are two possibilities when it comes to a frame for your drone. You can make it yourself or buy it in an online store, and for a wide choice of high-quality frames, we suggest checking out our article about best drone frames. If you decide to build it yourself, the project is not that difficult, but you’ll need some engineering knowledge and knowledge of the materials you are going to use. For instance, you can use metal (something light), plastic, or even wood slats. If you opt for a wooden frame, you’ll need a wood board which is about 2.5 cm thick.
- Motors: Because I want to make a Quadcopters, I will be needing 4 motors in total. The recommendation is to use brushless motors – they are lighter on the battery.
- ESCs or electronic speed control: these are also essential pieces of your drone as they are in charge of delivering power to the motors. Again, their number depends on the number of arms your drone is going to have.
- Propellers: When looking for the propellers, you must find the ones that match the frame of your drone. Pay attention to materials – you won’t find wooden propellers, but you must make sure the ones you choose are a good fit.
- Connectors: Connect the motors and ESCs, as well as 4.5 mm connectors for the power distribution board.
- The power distribution board – this board connects the electronic speed controls to the battery.
- Batteries: When purchasing the batteries for your drone, you need to consider the capacity of a battery and its type. The most used batteries for this purpose are Li-Po batteries and their power differs.
- Battery monitor: This is not an elementary item, but the monitor is quite useful in warning you when the batteries are close to finishing. This way you don’t risk having the drone remain out of juice in the air, over a pond. A battery monitor ensures that your aerial vehicle won’t die in the most inopportune place.
- Mounting pad: It reduces the vibrations, and thus improves the flight. This one is very useful especially if you are trying to take pictures or videos with your DIY drone.
- Flight Controller: This device shares the power and commands the motors at the same time.
- RC receiver and transmitter (controller)
- RasberryPi Zero and Camera: to do facial recognition.If you want to take aerial photos and record the surroundings while flying your drone, you will need a camera. The best cameras are those that can take the quality 4K videos, but everyone will find one according to their needs. For high-quality aerial photography and videography, you might also need a gimbal for the camera.USB key:This is necessary to save the photos and videos.
Brushless Motor Driver with PWM Control
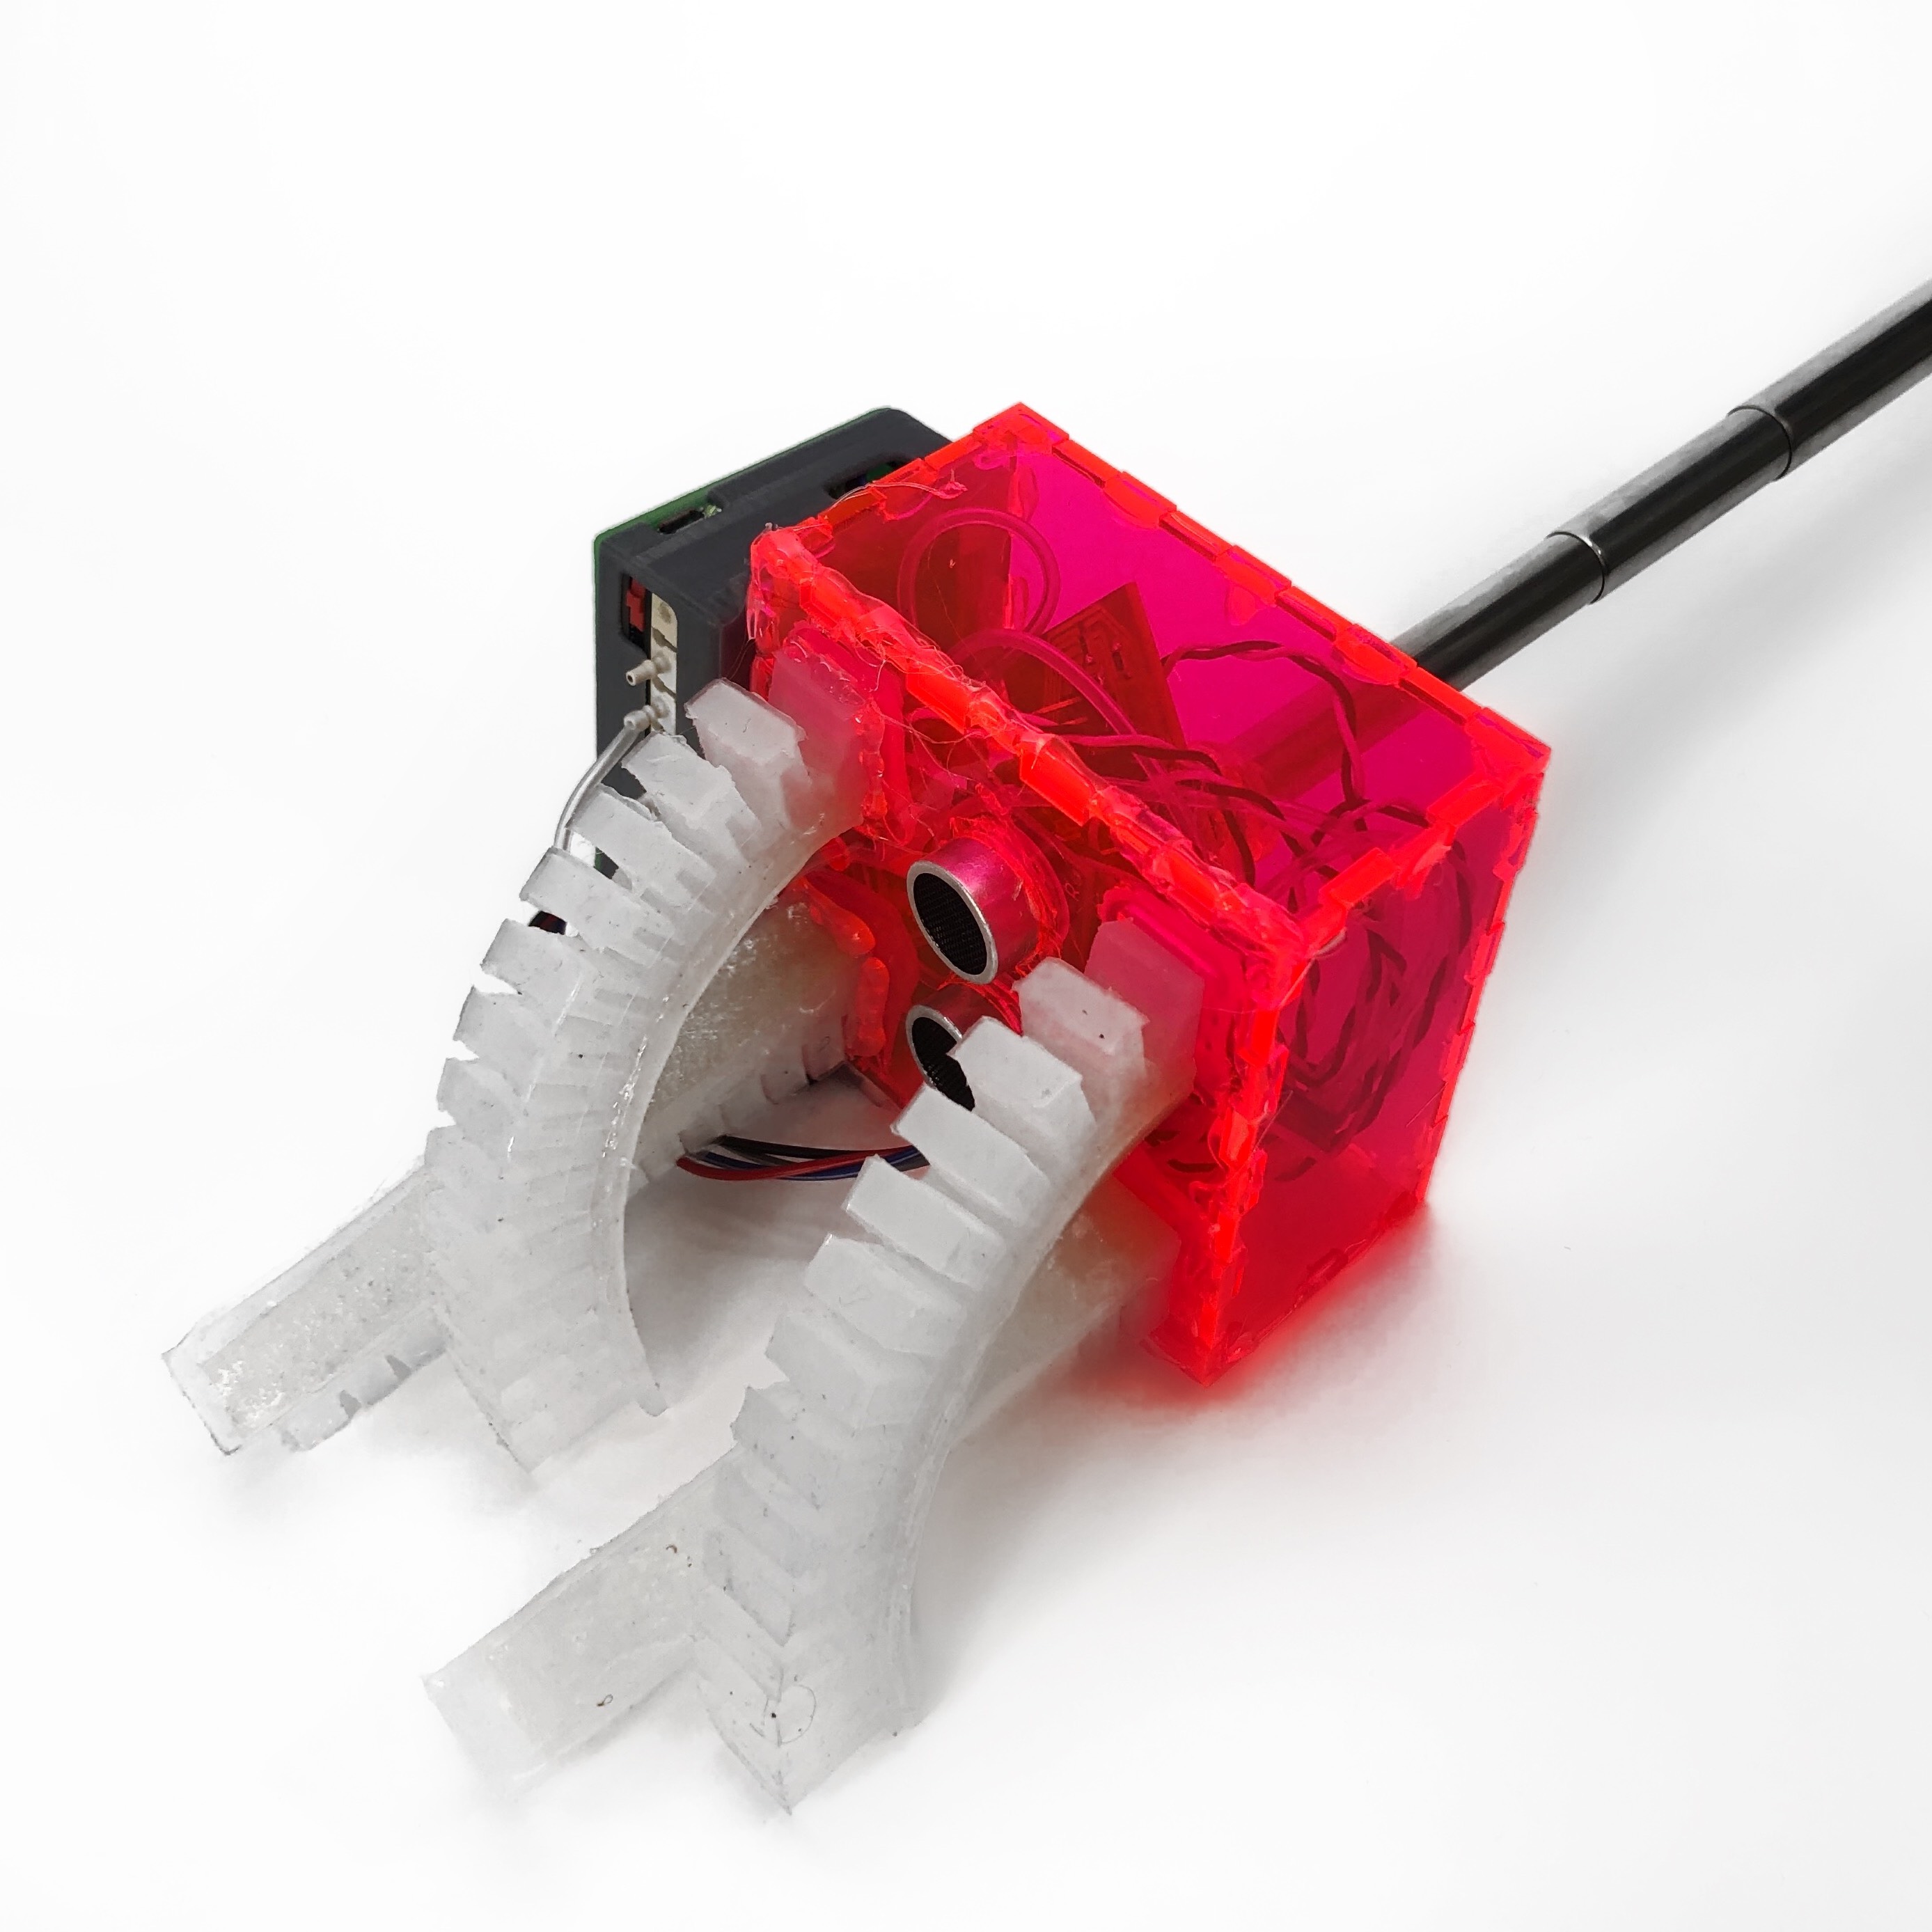
I was interested in building a drone in the future and Anthony gave me a drone that was just sitting around in his office.

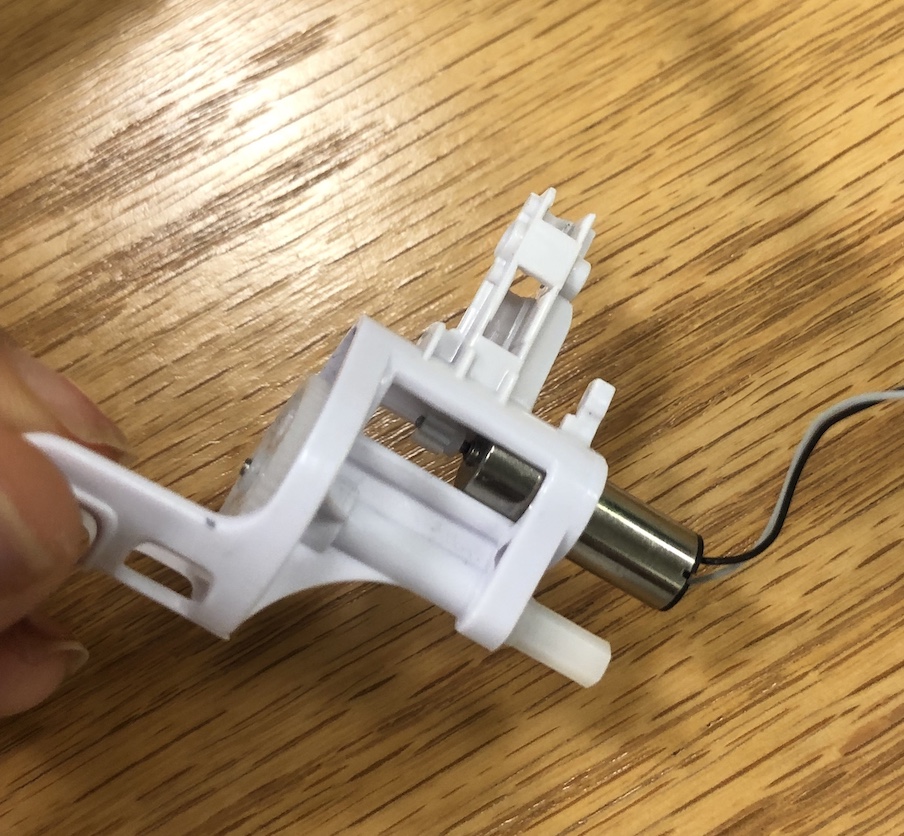
I took it apart and wanted to create a motor board to see if I could control the motors. It was a SYMA drone and was able to find the motors that was used to see what voltage and current it needs to know what regulator to add onto the board.
Operating Voltage: 3.7v at 500mAh
Dimensions: 7 x 20 mm (D x L)
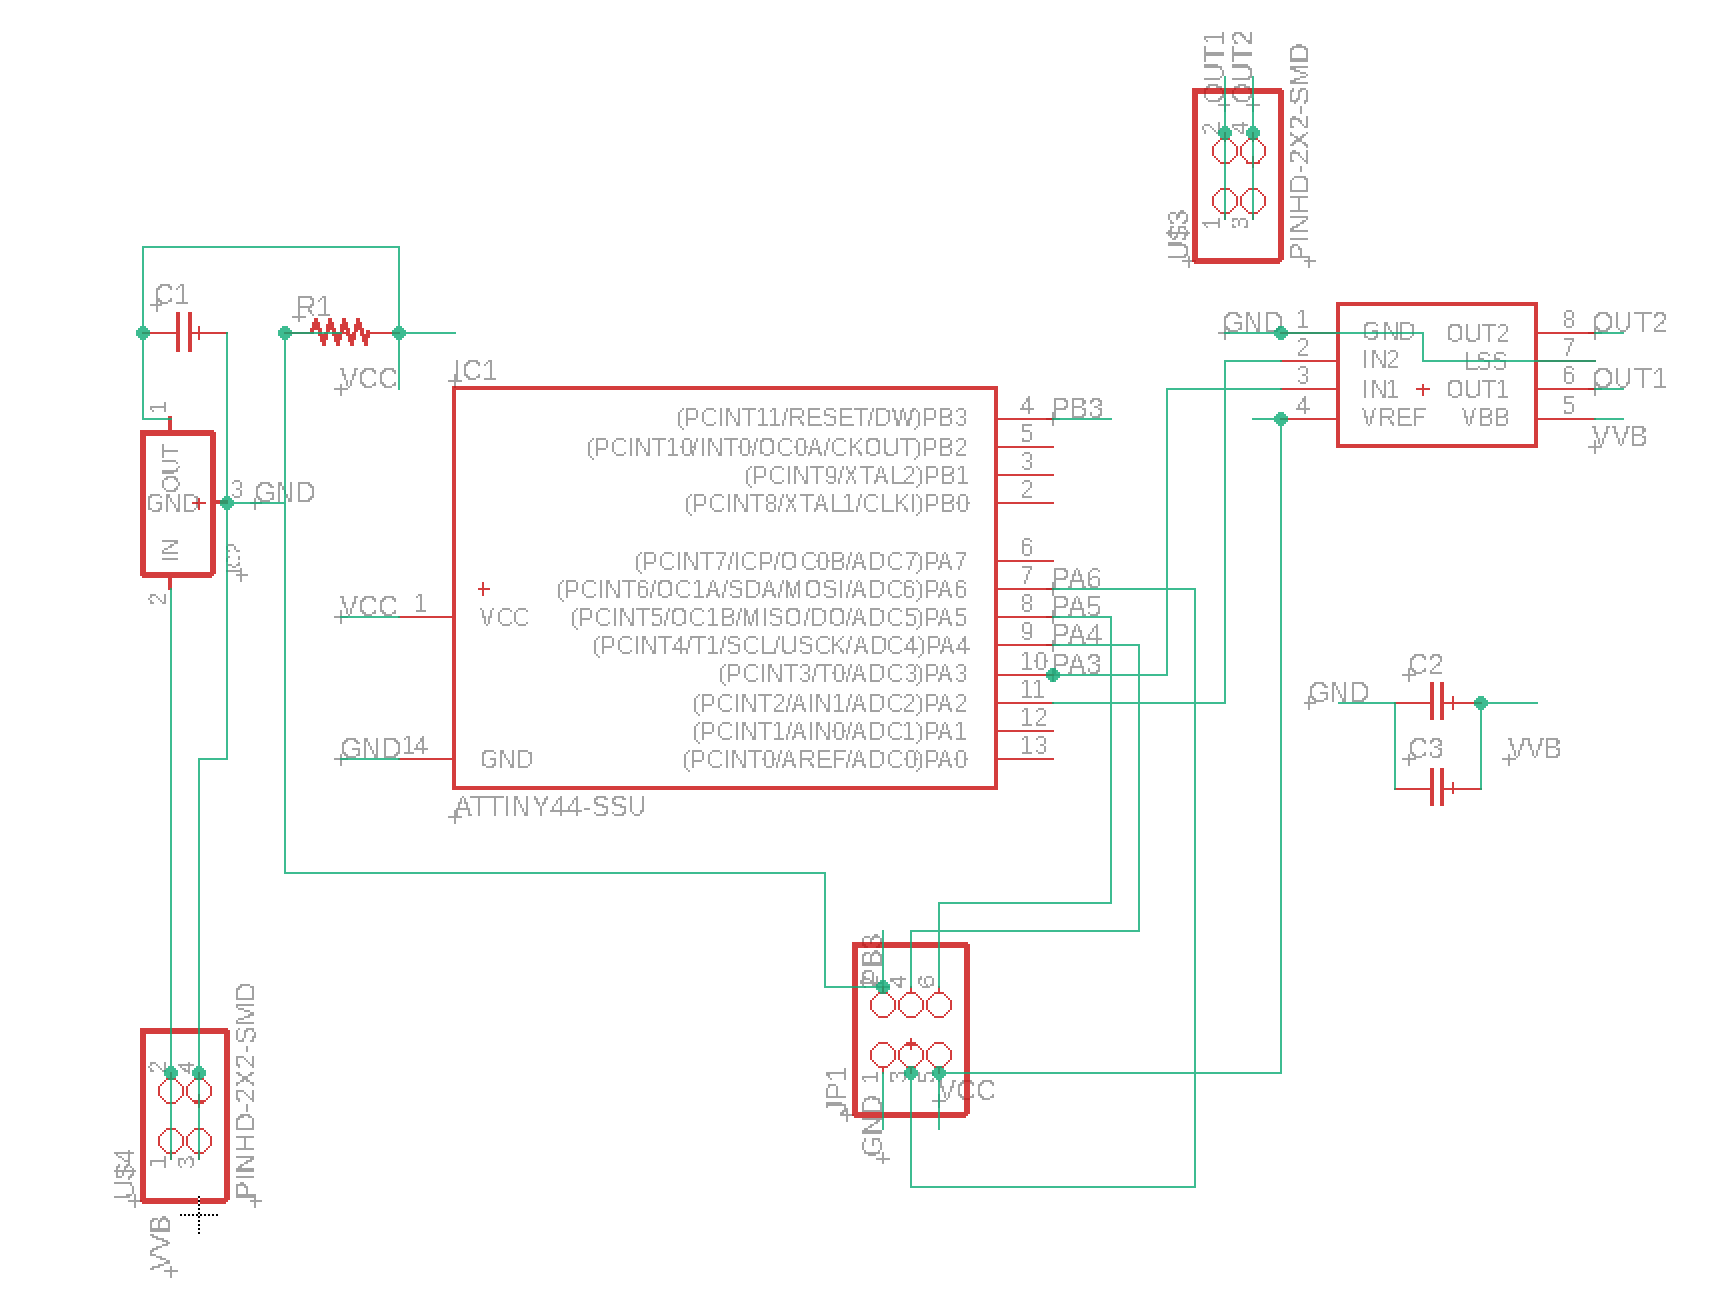
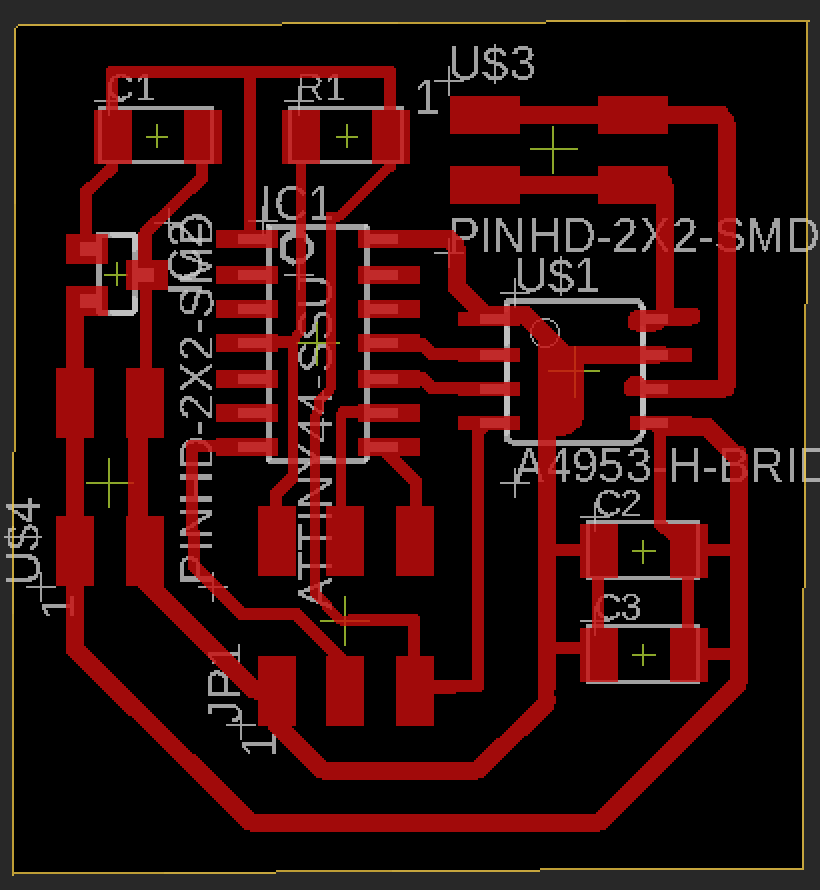
Creating the Board in Eagle
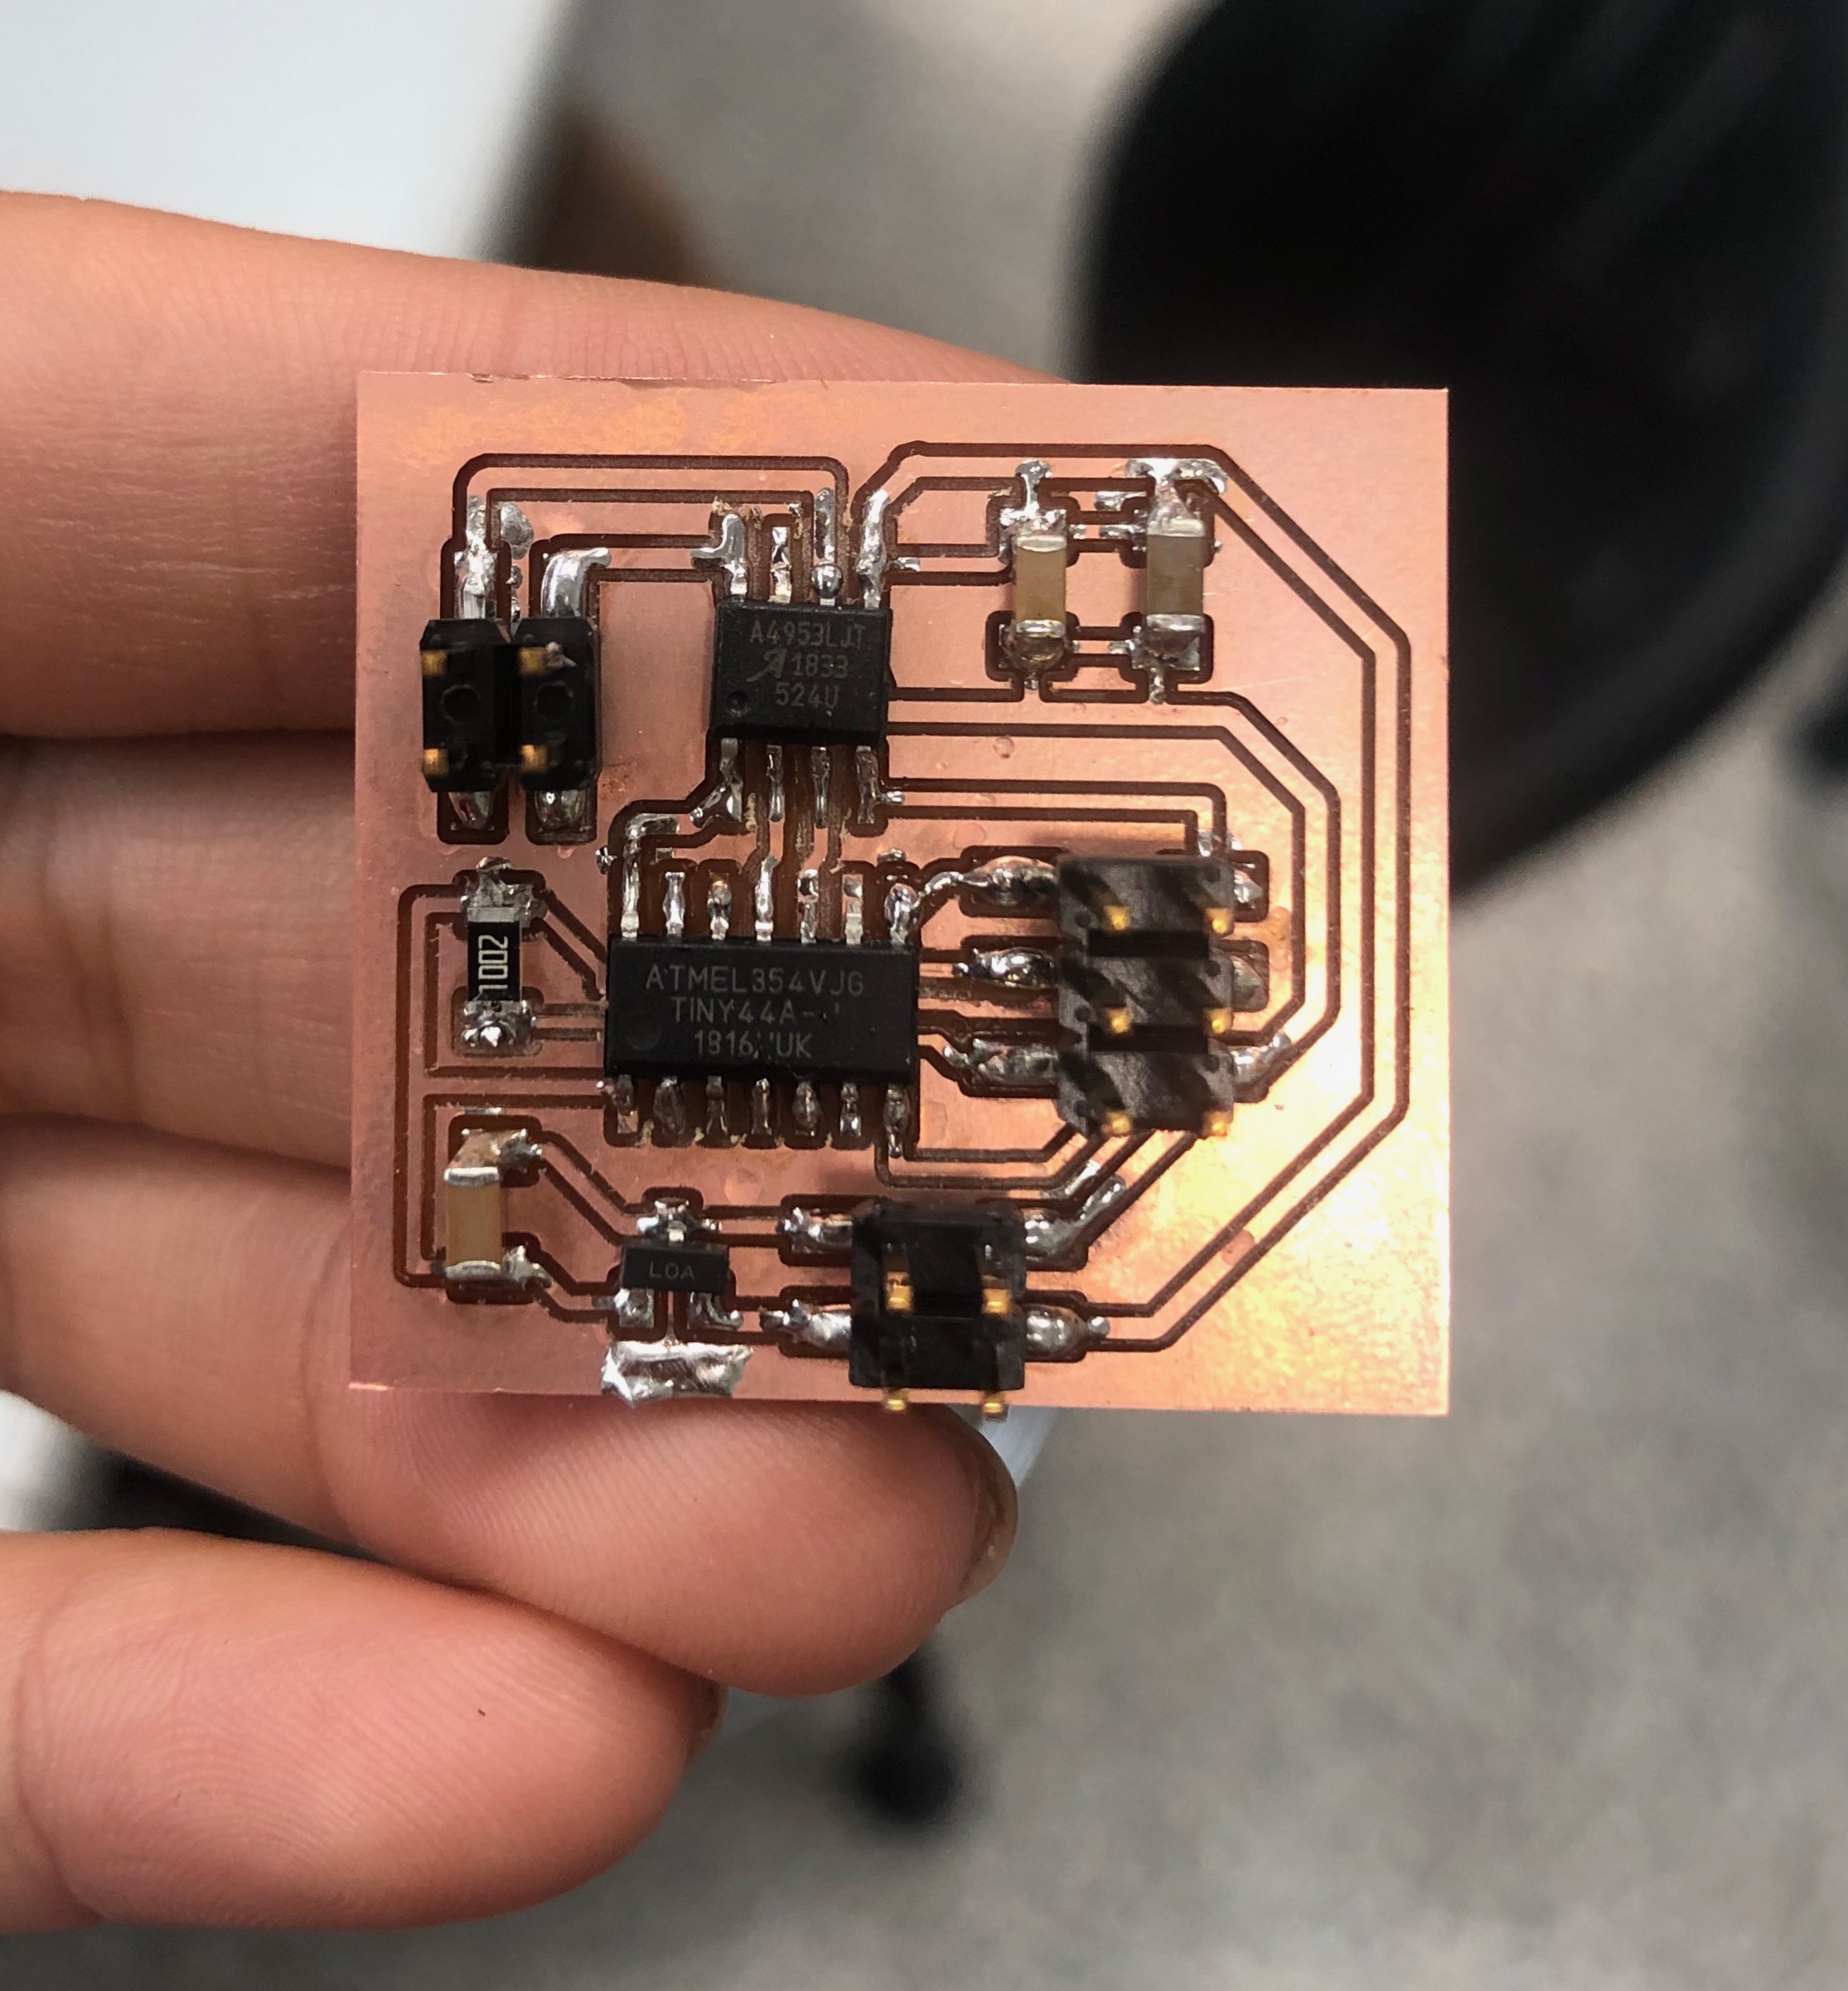
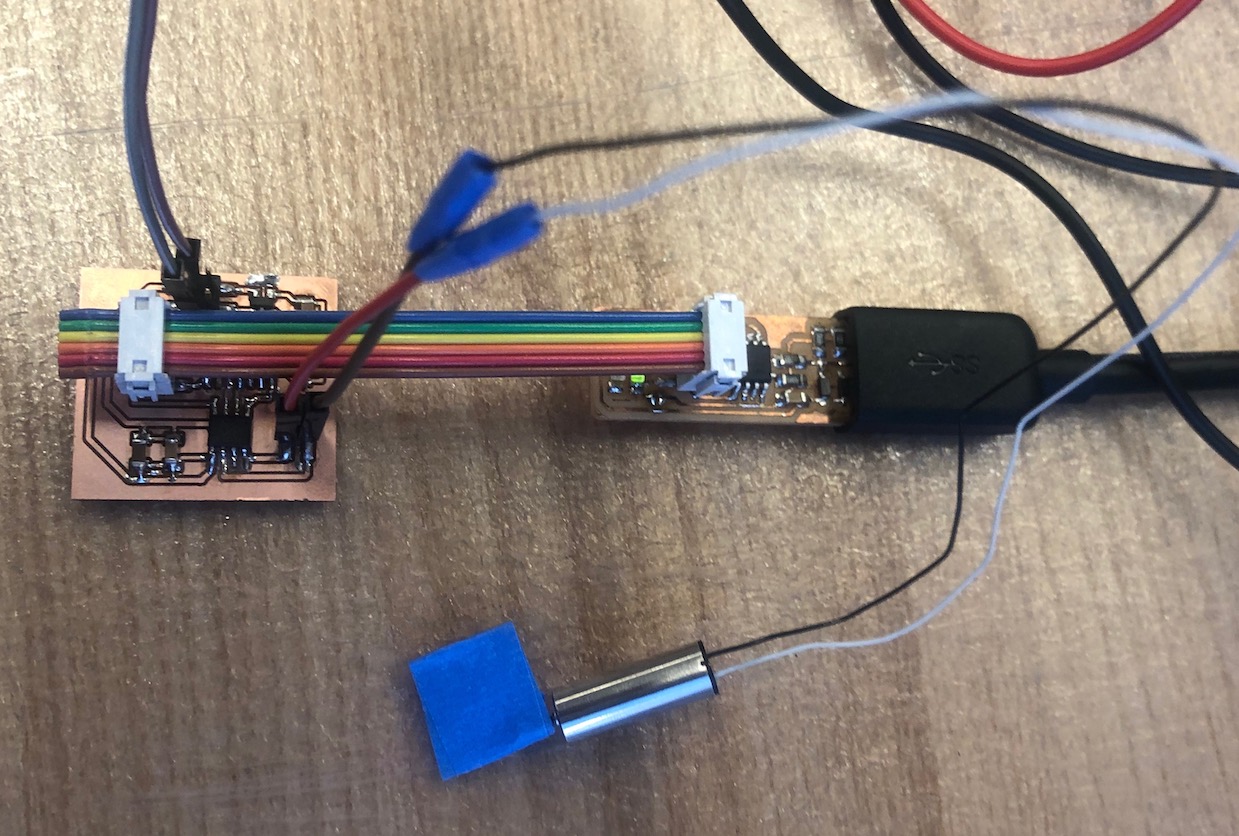
Final Board
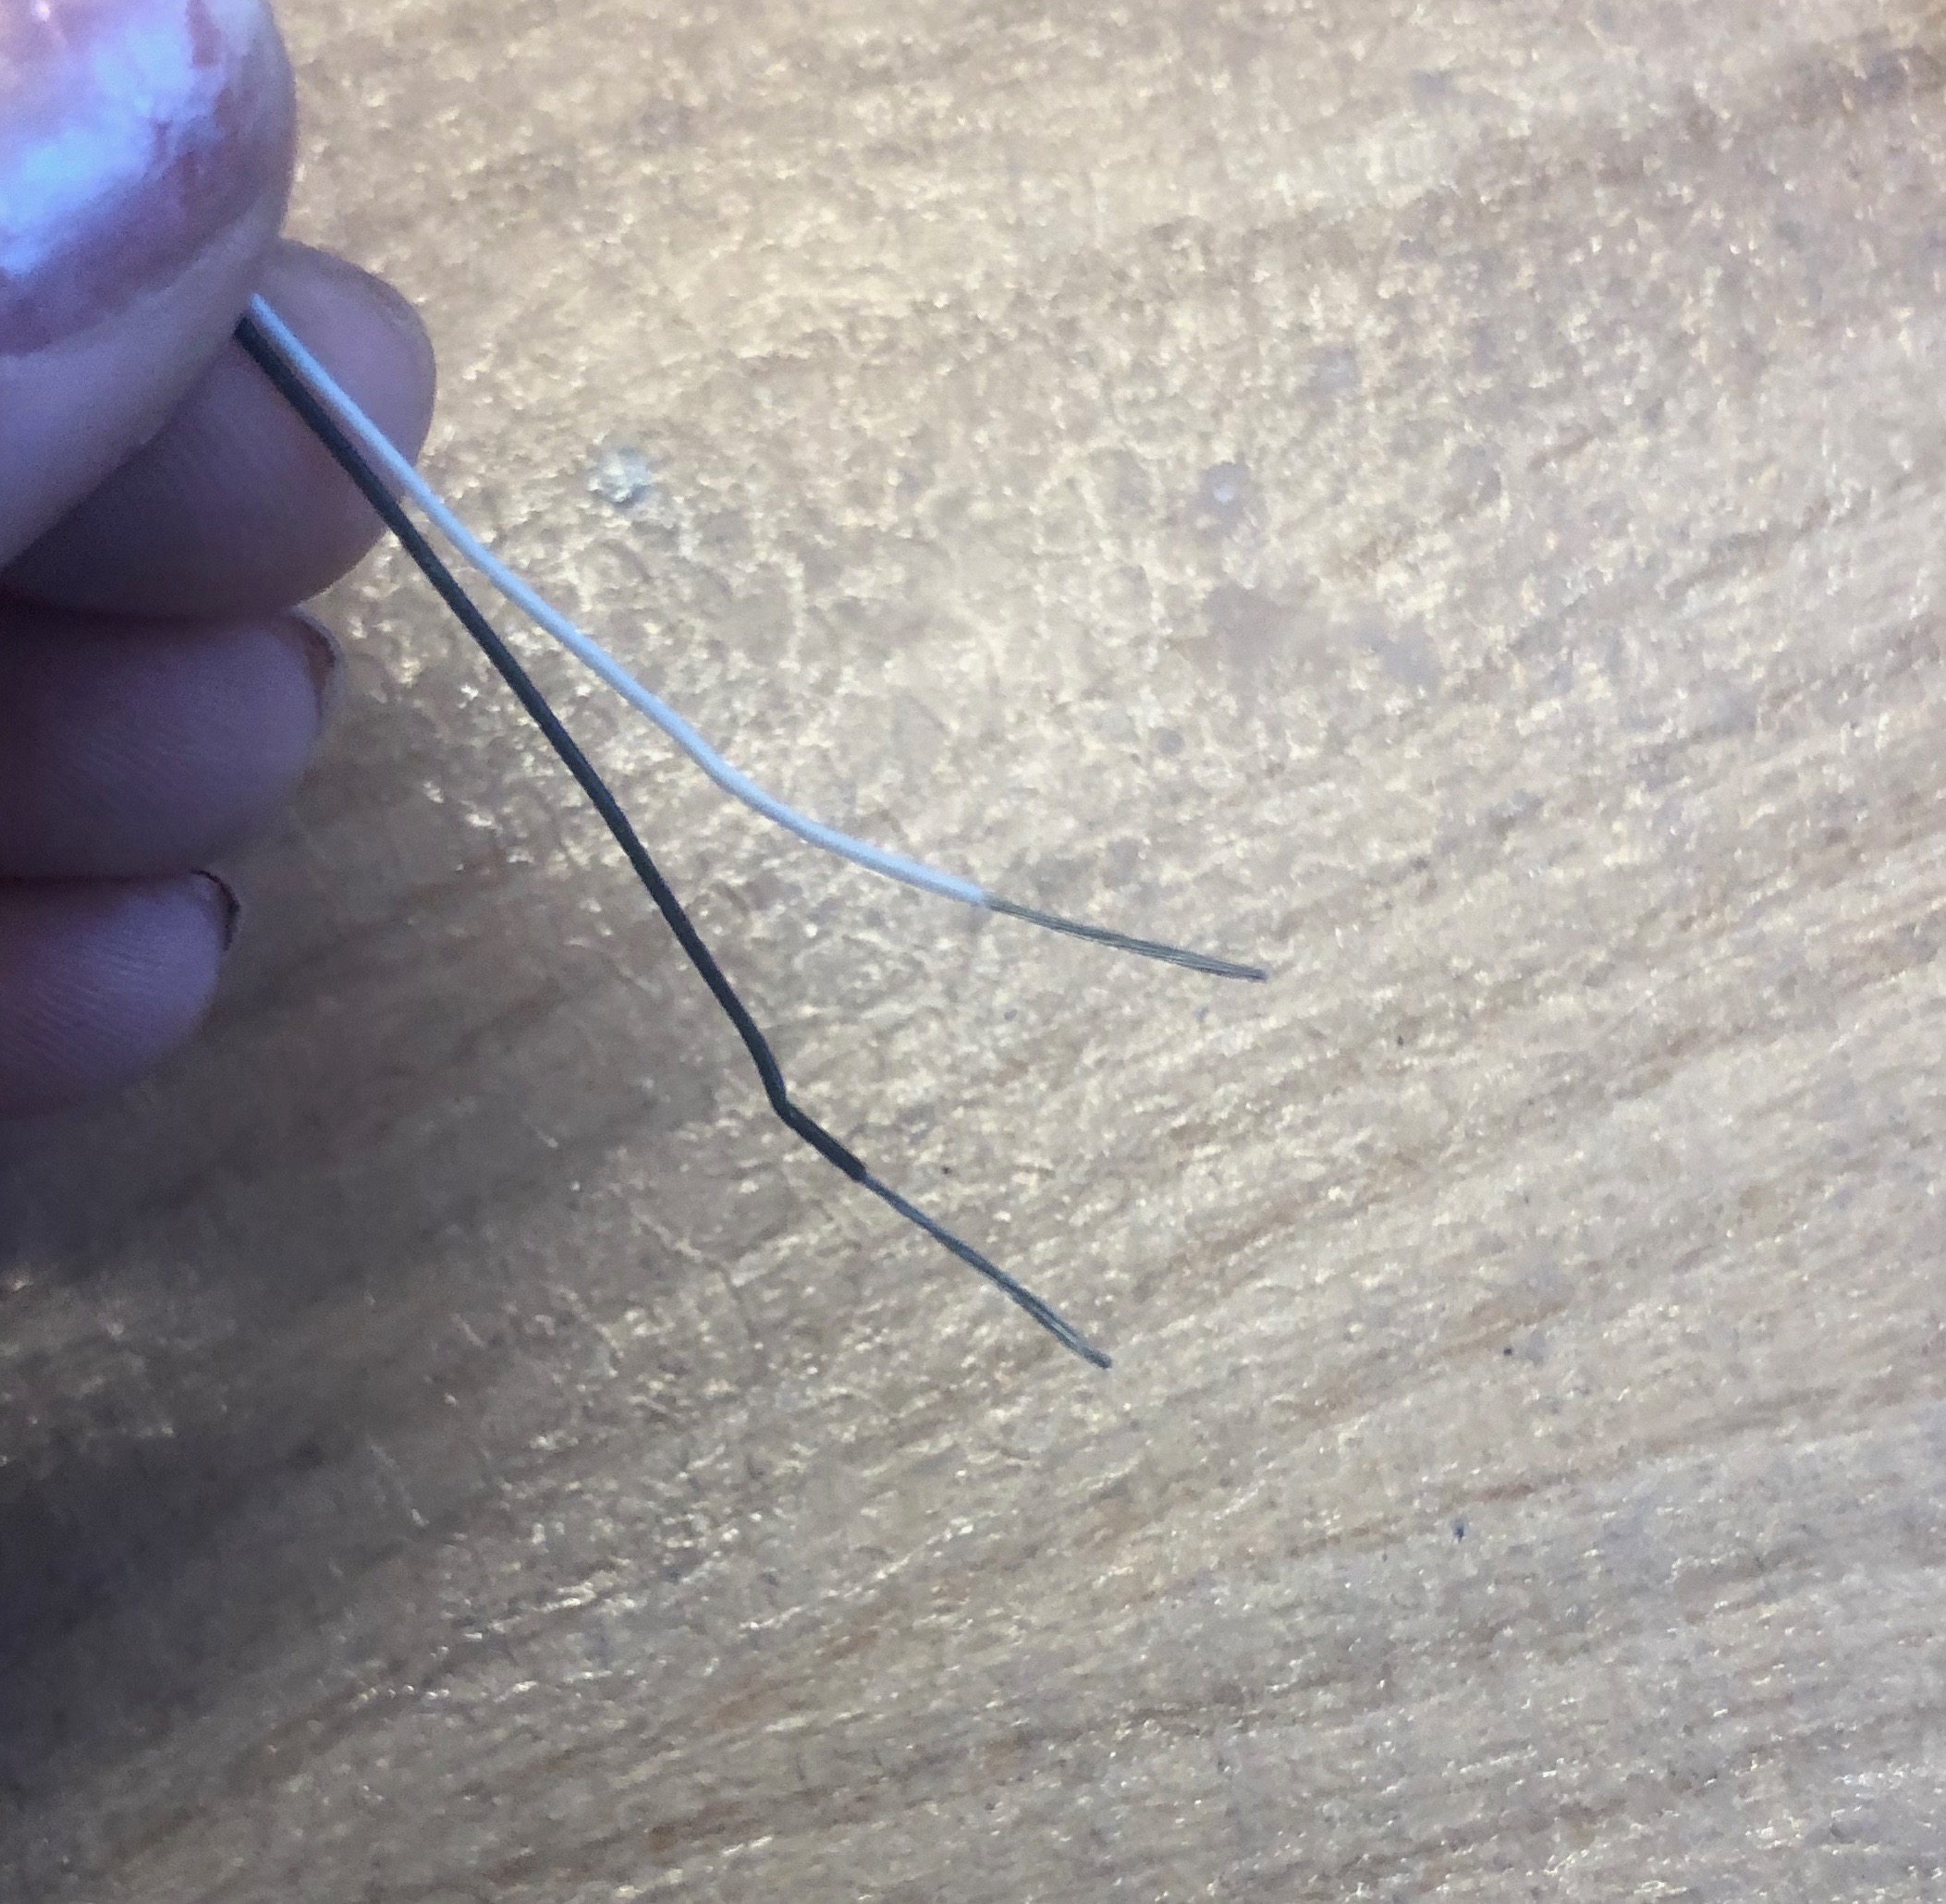
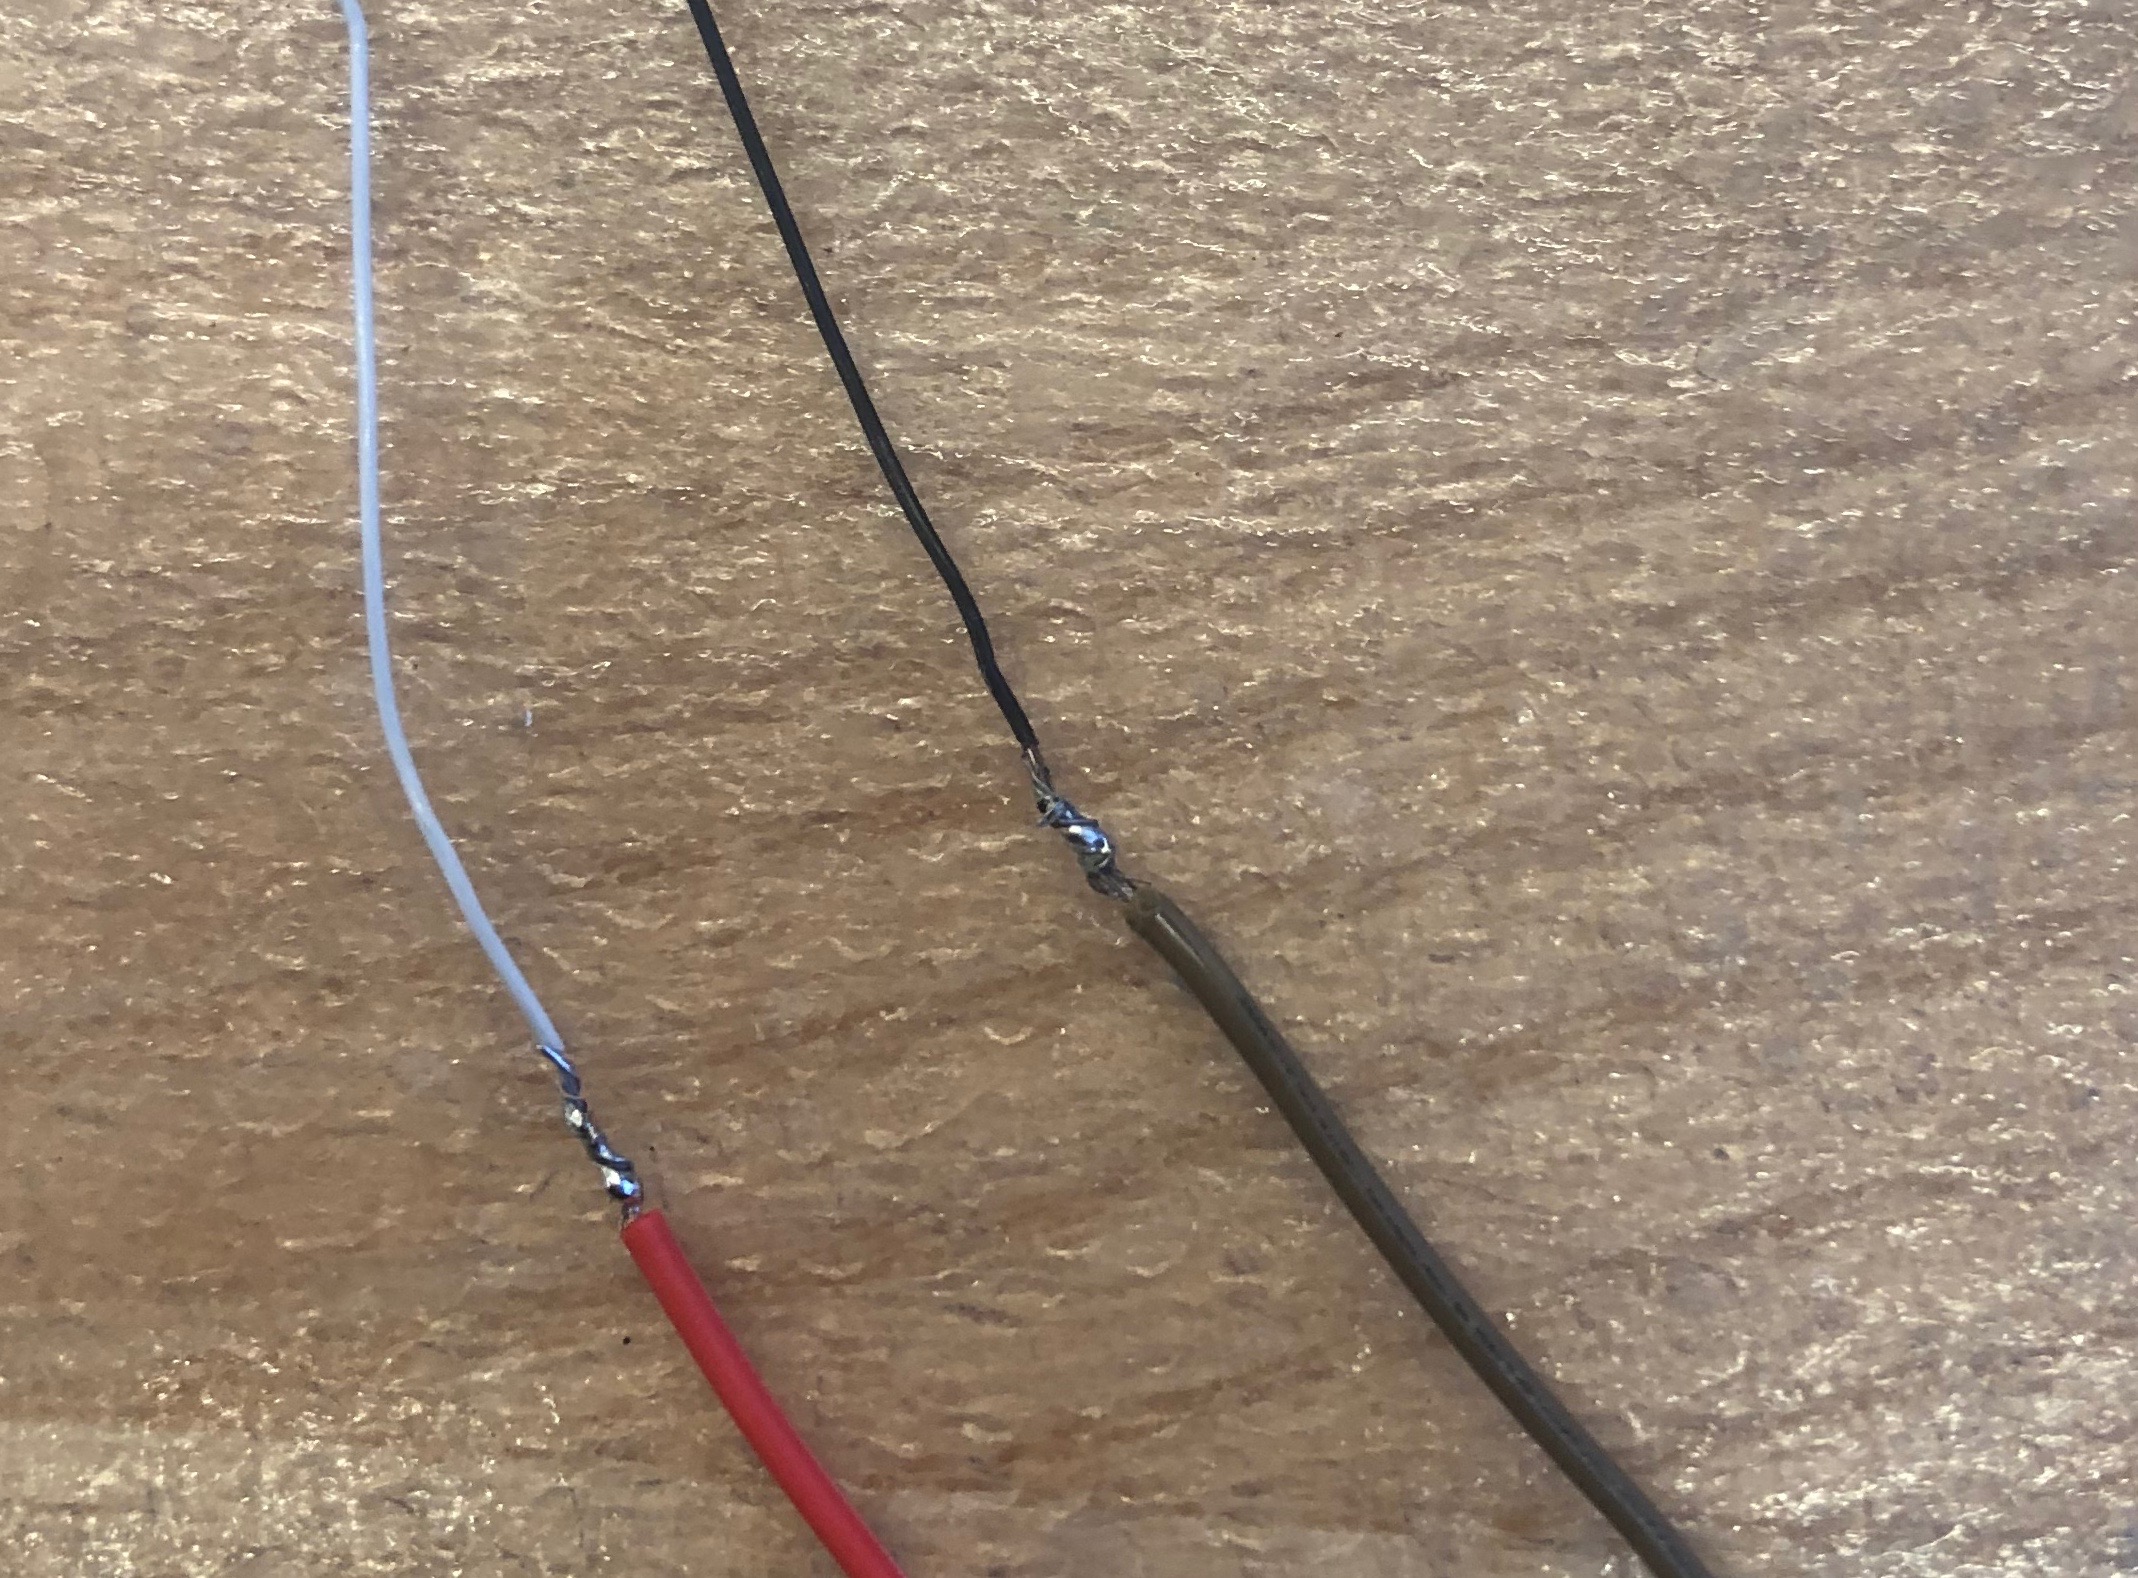
I soldered the pins of the motor to another wire that had a female header so I could plug it in the board that I made.
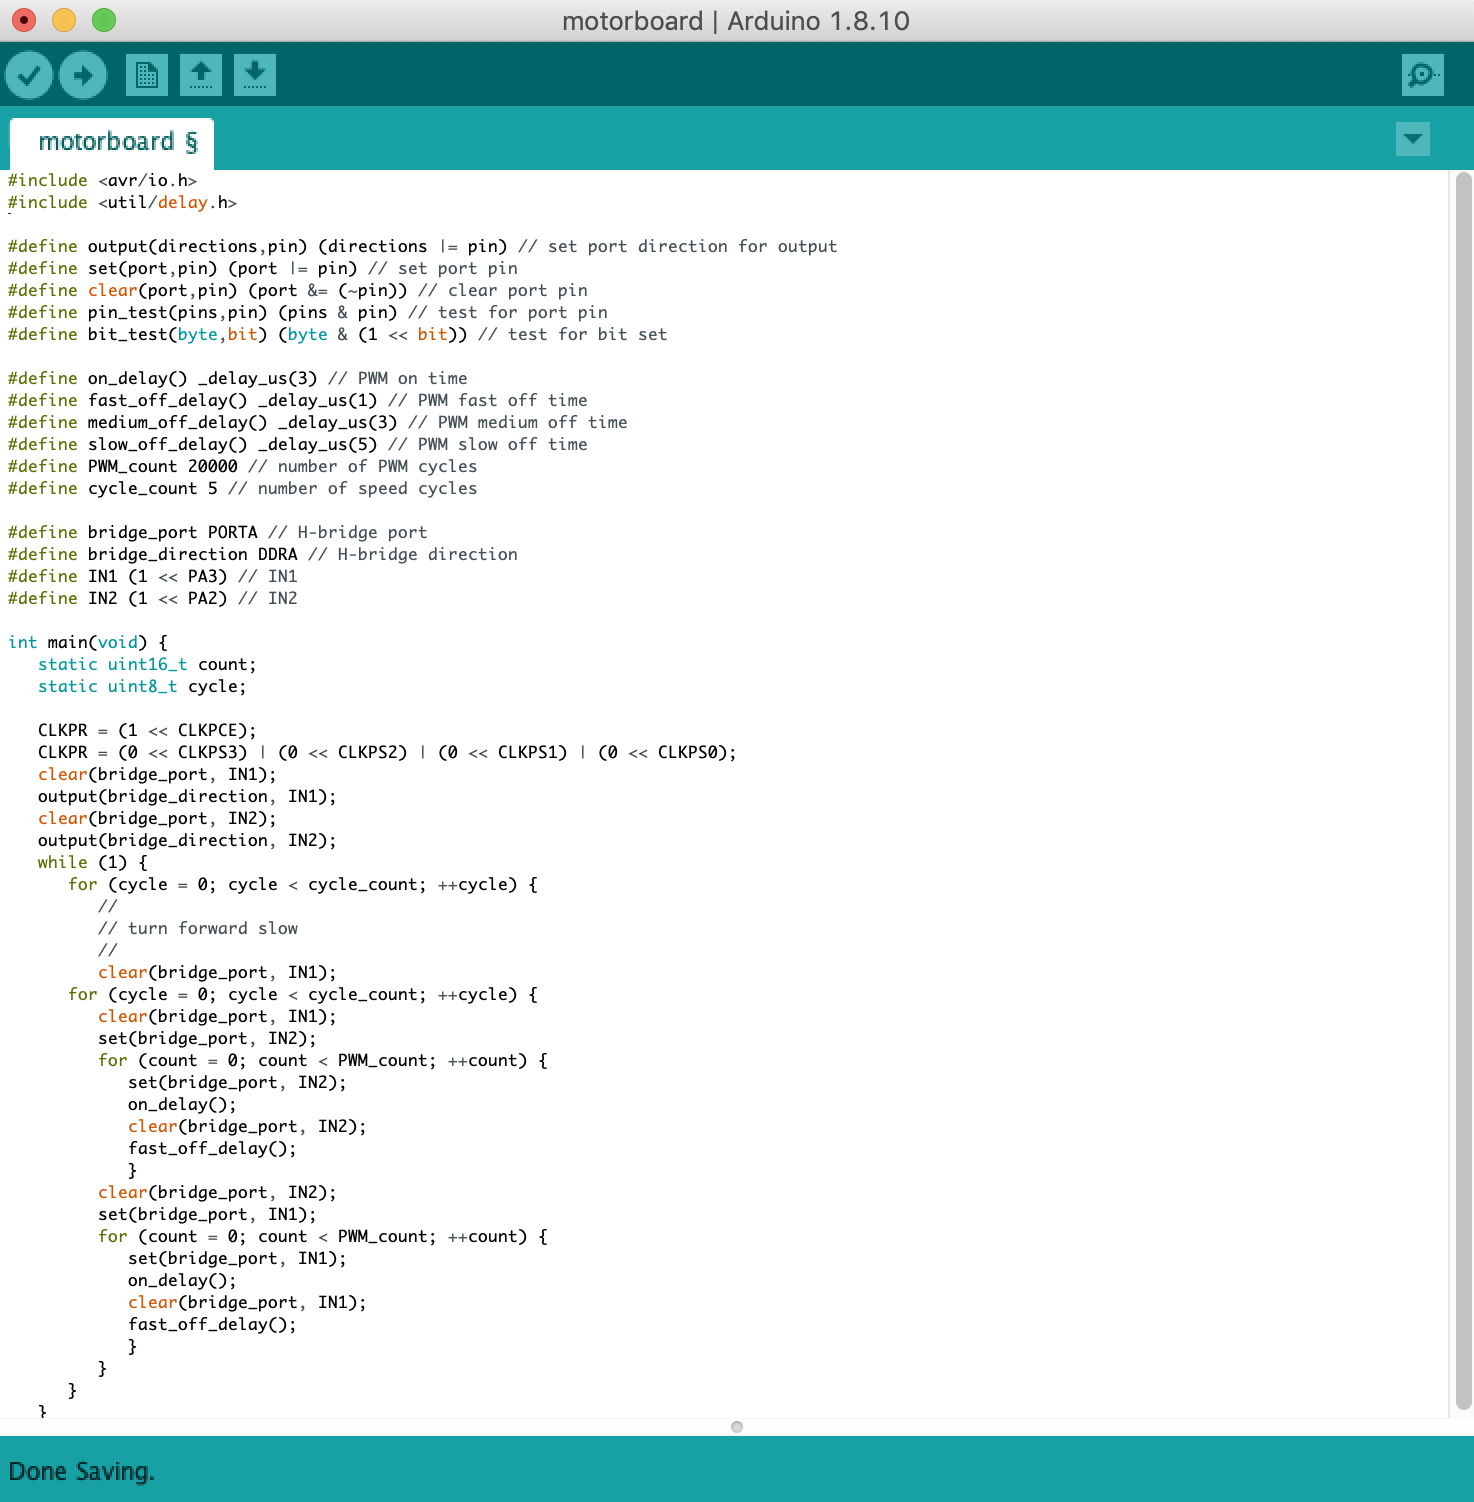
Programming my Board
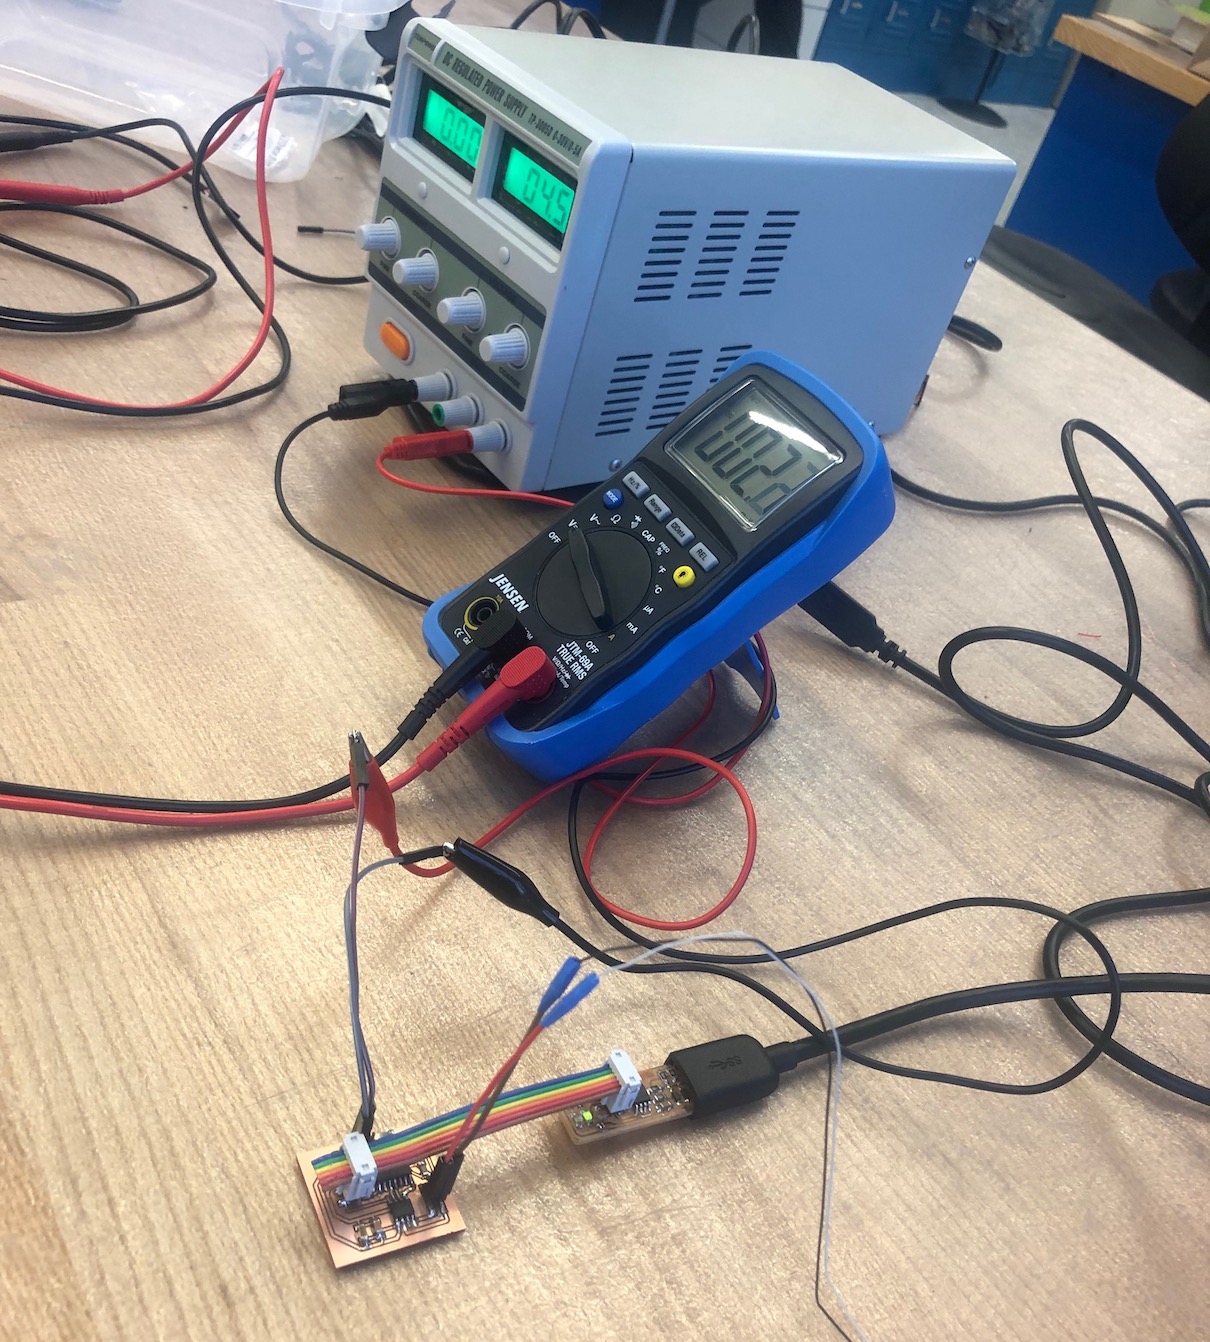
This board was the first board that I created that has an external power source, so that power isn't just coming from ftdi port. Before programming my board, I wanted to make sure that my motor was working to help move along the debugging process. I connectecd both sides to a DC power supply and the motor turned!
What is PWM?
Pulse Width Modulation, or PWM, is a technique for getting analog results with digital means. Digital control is used to create a square wave, a signal switched between on and off. This on-off pattern can simulate voltages in between full on (5 Volts) and off (0 Volts) by changing the portion of the time the signal spends on versus the time that the signal spends off. The duration of "on time" is called the pulse width. To get varying analog values, you change, or modulate, that pulse width. Pulse-width modulation (PWM) of a signal or power source involves the modulation of its duty cycle, to either convey information over a communications channel or control the amount of power sent to a load.The simplest way to generate a PWM signal is the intersective method, which requires only a sawtooth or a triangle waveform (easily generated using a simple oscillator) and a comparator. When the value of the reference signal (the green sine wave in figure 2) is more than the modulation waveform (blue), the PWM signal (magenta) is in the high state, otherwise it is in the low state.
Using PWM to control a motor
PWM can be used to reduce the total amount of power delivered to a load without losses normally incurred when a power source is limited by resistive means. This is because the average power delivered is proportional to the modulation duty cycle. After understanding what PWM does, I was able to understand Neils code and use it on my board to get the motor running.
Similar Projects
Click below to explore more of my projects!